
How to Can Baby Food: A Guide for New Parents
Introduction
Making homemade baby food ensures your little one gets the freshest and most nutritious meals. Canning baby food extends its shelf life, allowing you to prepare it in bulk. Through proper canning techniques, you can preserve a variety of fruits and vegetables that cater to your baby’s taste and nutritional needs. This guide provides a thorough and easy-to-follow method for canning baby food at home. Let’s dive into the essentials of making this process safe, efficient, and beneficial for your baby’s diet.

Understanding the Basics of Canning
Canning is a preservation method that involves packing food into jars and heating them to destroy microorganisms that cause spoilage. The heat creates a vacuum seal that keeps out air and bacteria, ensuring the food remains safe to eat for an extended period. Learning the basics of canning will help you understand the process and its importance.
There are two primary methods of canning: water bath canning and pressure canning. Water bath canning is suitable for high-acid foods, like fruits and tomatoes, whereas pressure canning is necessary for low-acid foods, such as vegetables and meats. For baby food, you can use both methods depending on the ingredients.
Essential Equipment and Supplies for Canning Baby Food
Before you start canning, gather all the necessary equipment and supplies. Having everything ready will streamline the process and ensure safety and success.
- Canning jars: Use small jars (4-8 ounces) as they are convenient for single baby food servings.
- Lids and bands: Ensure you have new, unused lids to form a proper seal.
- Large pot or water bath canner: For processing high-acid foods.
- Pressure canner: For processing low-acid foods.
- Jar lifter: To safely remove hot jars from the canner.
- Bubble remover/headspace tool: Helps remove air bubbles from jars and measures the correct headspace.
- Funnel: Makes filling jars easier and less messy.
- Towels and clean cloths: To keep the workspace tidy and clean.
With the right tools ready, you’re set to start the process of preparing ingredients for canning baby food.
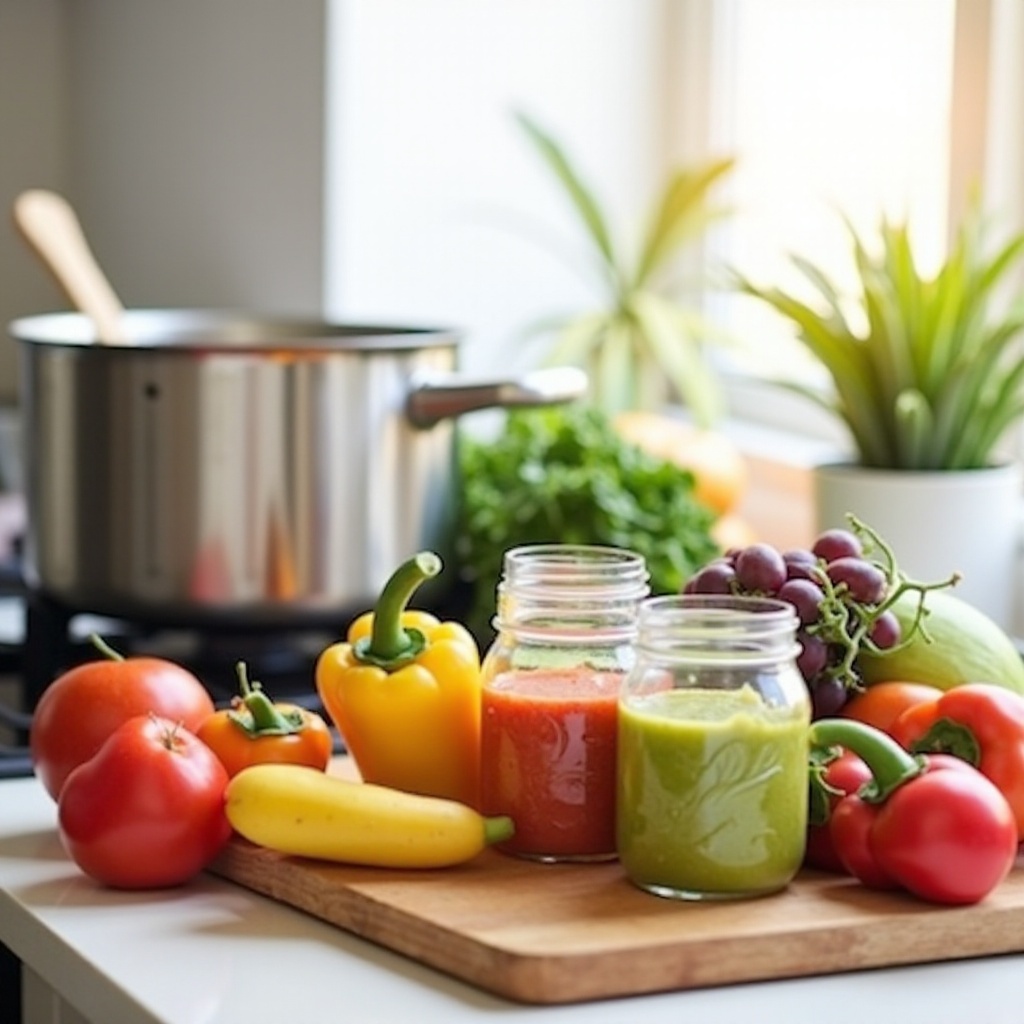
Selecting and Preparing Ingredients
Selecting fresh, high-quality ingredients is crucial for nutritious and safe baby food. Choose organic fruits and vegetables whenever possible to avoid pesticides and other harmful substances.
- Fruits: Apples, peaches, pears, and plums are great choices. Ensure they are ripe but not overripe.
- Vegetables: Carrots, potatoes, peas, and sweet potatoes are nutritious options. Avoid vegetables high in nitrates like spinach and beets for babies under six months.
Once you’ve selected your ingredients, follow these steps for preparation:
- Wash thoroughly: Clean all fruits and vegetables under running water to remove dirt and pesticide residues.
- Peel and core: Remove skins, seeds, and pits. This step is particularly important for smooth purees.
- Cut into pieces: Chop ingredients into small, uniform pieces to ensure even cooking.
Step-by-step Canning Process
Cooking and Pureeing Baby Food
- Cook the ingredients: Simmer fruits and vegetables in a pot until they are tender. You can steam, boil, or bake them, depending on your preference.
- Puree the food: Use a blender, food processor, or hand mixer to puree the cooked ingredients until smooth. Add water, breast milk, or formula to achieve the desired consistency.
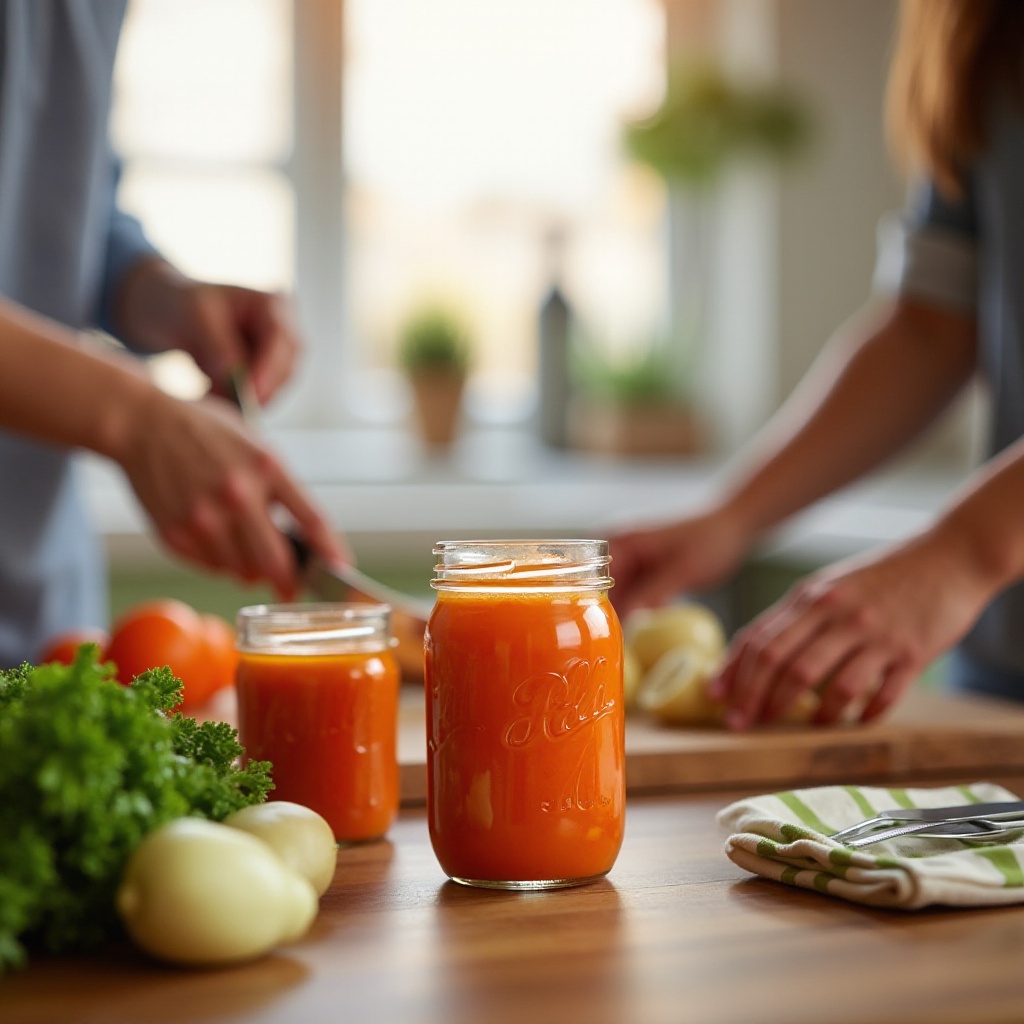
Filling and Sealing Jars
- Sterilize jars: Place clean jars in a pot of boiling water for 10 minutes. Remove them carefully using a jar lifter and let them air dry.
- Fill jars with puree: Use a clean funnel to spoon the puree into the sterilized jars. Leave about 1/2 inch of headspace at the top of each jar.
- Remove air bubbles: Run a bubble remover or a clean knife around the inside of the jar to release any trapped air.
- Wipe rims: Clean the rims of the jars with a damp cloth to ensure a good seal.
- Apply lids and bands: Place the lids on the jars and screw the bands finger-tight.
Processing Jars
- Water bath canning: If using the water bath method, place jars in a water bath canner with at least one inch of water covering them. Bring to a boil and process for the recommended time based on your recipe.
- Pressure canning: For low-acid foods, place jars in a pressure canner and follow the manufacturer’s instructions for processing times and pressure levels.
- Cool and check seals: Remove jars carefully using a jar lifter and place them on a towel to cool for 12-24 hours. Check seals by pressing the center of each lid. If it does not pop back, the jar is sealed.
Storage and Shelf Life of Canned Baby Food
Proper storage extends the shelf life of canned baby food while maintaining its quality. Store jars in a cool, dark, and dry place, such as a pantry or cupboard. This protects the food from heat and light, which can degrade its quality.
- Shelf life: Generally, canned baby food can be stored for up to one year. Always check jars for any signs of spoilage before use, such as broken seals, unusual odor, or discoloration.
Conclusion
Canning baby food at home is a valuable skill for parents who prioritize their child’s nutrition. It allows you to control the quality of ingredients and save time and money. Following these steps ensures safe and effective canning, giving your baby the best start with homemade meals.
Frequently Asked Questions
Is it safe to can baby food at home?
Yes, as long as you follow proper canning techniques and use the correct equipment, canning baby food at home is safe. Ensure high standards of hygiene and strict adherence to processing times and methods.
How long can canned baby food last?
Canned baby food can last for up to one year when stored in a cool, dark, and dry place. Always inspect the food for signs of spoilage before feeding it to your baby.
Can I use any fruits and vegetables for canning baby food?
While most fruits and vegetables are safe, avoid high-nitrate vegetables like spinach and beets for babies under six months. Always select fresh, high-quality produce for the best results.