
Comprehensive Guide: How to Install Safety First Cabinet and Drawer Latches
Introduction
Securing your home with childproof measures is essential to prevent accidents and injuries. Cabinet and drawer latches by Safety First provide an effective solution to keep curious little hands away from potentially dangerous items or substances. With these latches, your cabinets and drawers become child-resistant, offering reassurance for parents and caregivers. This guide will take you through the entire process of installing these vital safety devices, ensuring a smoother experience and optimal results. We will cover the necessary tools, preparation steps, and detailed installation instructions, promising a supportive transition to a safer living environment.

Gathering Your Tools and Materials
Before proceeding with the installation, collecting the appropriate tools and materials is crucial. Being prepared minimizes interruptions and facilitates a more efficient setup.
You will need the following:
– A Phillips screwdriver
– A pen or pencil for marking
– A measuring tape
– Cleaning supplies such as a cloth and mild cleanser
– Optional: A power drill for more secure attachment of the latches
Ensure that you possess the complete Safety First latch kit, including all necessary screws and latch components. By organizing these items beforehand, you create seamless continuity for the installation process.
With your tools ready, shift your focus to preparing the cabinets and drawers for installation. Proper preparation enhances latch adhesion and functionality.
Preparing Your Cabinets and Drawers
Effective preparation begins with a thorough cleaning of the surfaces where the latches will be applied. Use a gentle cleanser alongside a soft cloth to clear away dust, oils, or residual dirt. Ensuring that the surface is free from debris guarantees optimal latch adhesion.
Once the surfaces are clean and dry, plan the exact placement of each latch. Employing a measuring tape ensures accurate positioning while minimizing errors—precision in this step lays the groundwork for successful installation.
With appropriate planning and cleaning complete, advancement towards installing the latches is now achievable. This next phase involves meticulously securing the latches.
Step-by-Step Installation Guide
Implement the following steps to install Safety First cabinet and drawer latches correctly:
- Step 1: Measuring and Marking Placement
-
Use the measuring tape to locate appropriate and equal spots on your cabinets or drawers. Mark these spots precisely with a pencil for clear guidance.
-
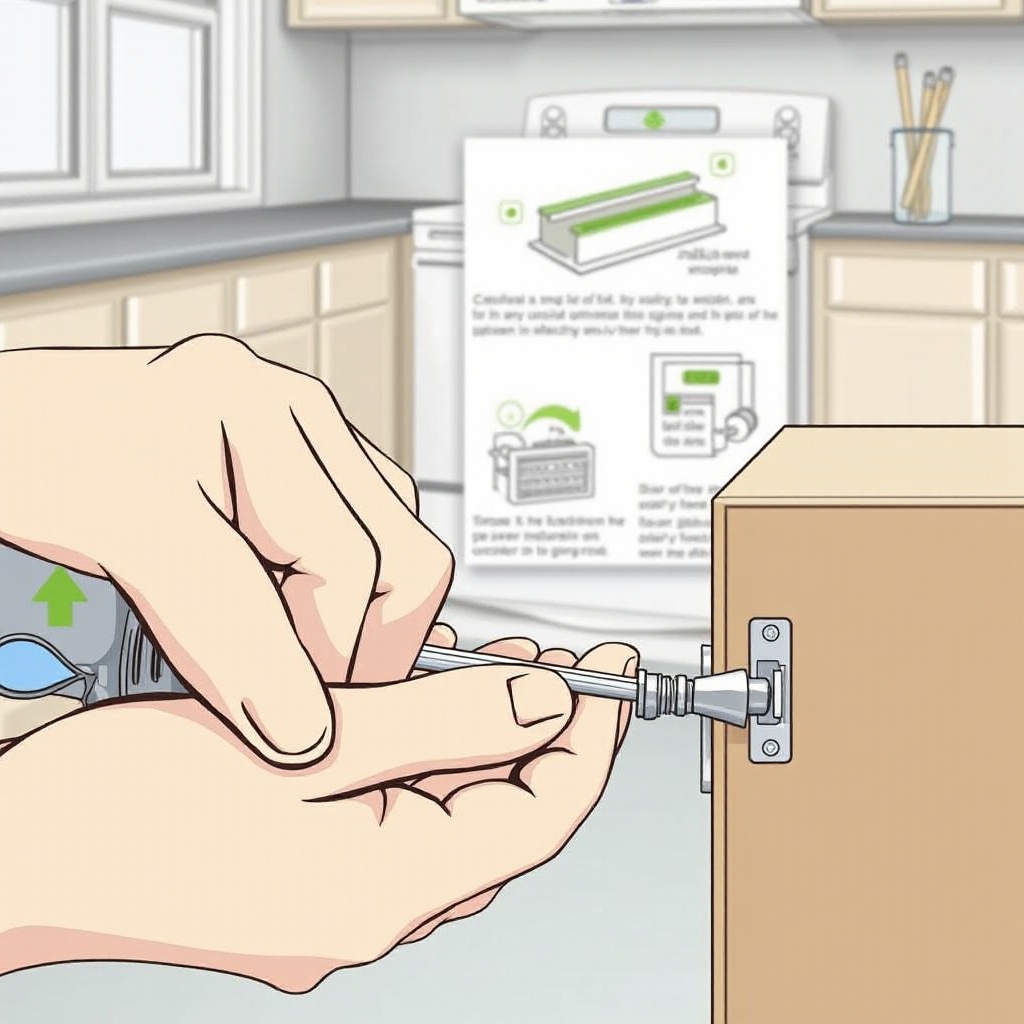
Step 2: Securing the Latch to the Cabinet
-
Align the latch according to the marked positions. Use the Phillips screwdriver to fasten the latch securely with the provided screws. For thicker cabinet structures, you might utilize a power drill.
-
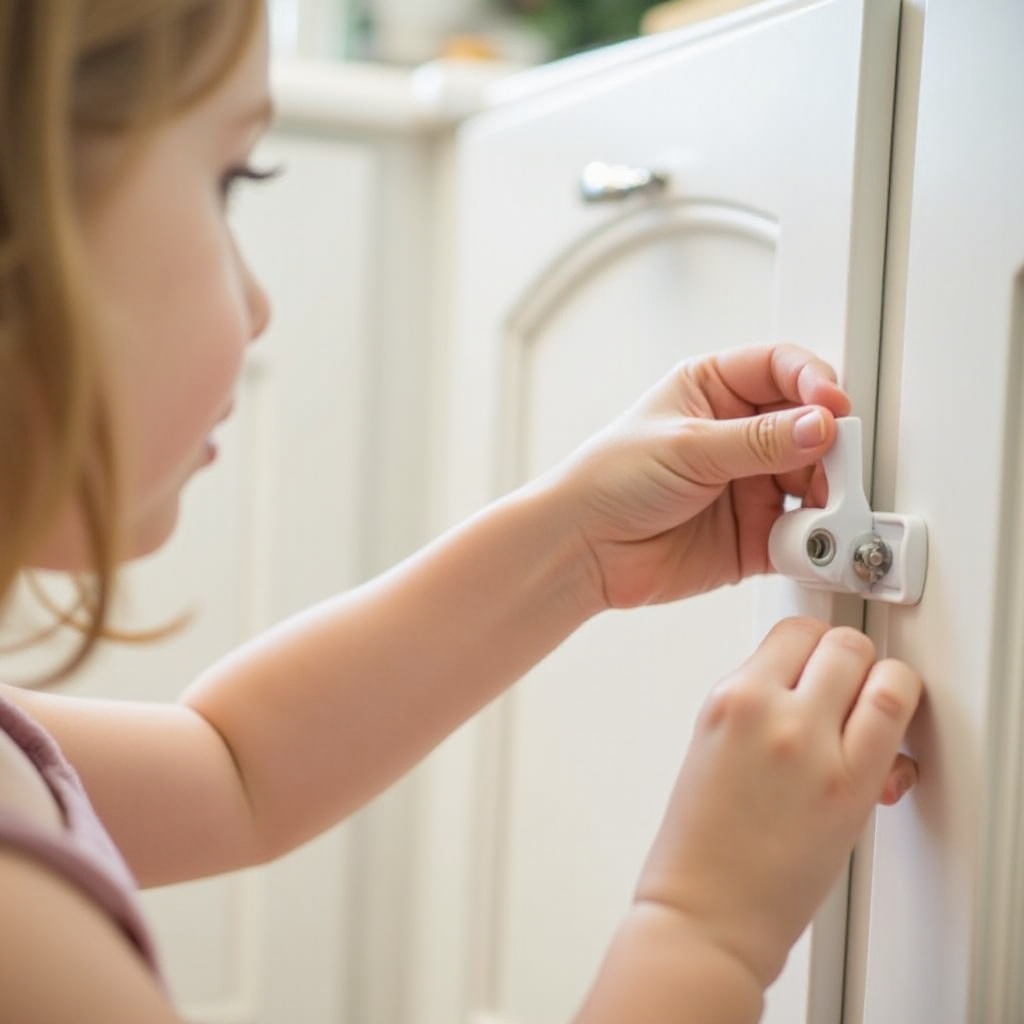
Step 3: Testing for Proper Functionality
- After installation, test the latch functionality by attempting to open the cabinet or drawer. It should remain shut, with the latch clicking in firmly. Adjust if needed for resolving any misalignment.
Following this series of steps guarantees that the latches are installed to operate efficiently. Should installation problems arise, refer to the next section for troubleshooting advice.
Troubleshooting Common Installation Issues
Some common challenges might occur during installation, but fear not, solutions are available:
-
Aligning the Latch Correctly: Reassess your marked spots if the latch seems incorrectly aligned. Ensure even tightening of screws to avoid misalignment.
-
Solutions for Uneven Surfaces: For wooden cabinets with uneven surfaces, thin shims can help in creating a uniform attachment environment.
-
Securing Latches on Non-Standard Cabinet Designs: Edge cases like non-standard cabinet thickness require you to reposition slightly for stronger security and closure.
Once installation and adjustments have been successfully managed, maintaining the latches is imperative to preserve operability and child safety.
Maintenance and Longevity Tips
Regular maintenance is vital for sustaining latch functionality:
– Conduct monthly inspections to verify that all screws are tight and materials are undamaged.
– Clean the latch surfaces with a damp cloth to remove dust that could obstruct smooth operation.
Should any damage or wear become apparent, initiate replacements promptly to maintain the intended safety level.
Following on from installation success, consider expanding the range of safety features in your home environment.
Enhancements to Overall Child Safety in the Home
Besides cabinet latches, additional safety measures can bolster the security of your home:
– Invest in outlet covers for exposed electrical outlets.
– Utilize corner guards on furniture with sharp edges.
– Secure heavy furniture to walls to prevent tipping and falling.
It’s also important to educate family members, particularly older children and caregivers, on these safety implementations, ensuring their cooperation and understanding of childproof practices.
As we conclude, reflect on the ease and importance of effectively installing Safety First cabinet latches in your home.
Conclusion
Installing Safety First cabinet and drawer latches is a straightforward task offering substantial benefits for enhancing home safety. Adhering to the outlined instructions ensures proper installation and optimal functionality. These efforts result in greater peace of mind by creating a more secure environment for your child. Maintain regular checks of the latches’ condition and operation to uphold continuous protection. Implementing these measures today can have lasting positive effects in safeguarding your family.
Frequently Asked Questions
How do I know if my latch installation is secure?
Check that the latch holds the cabinet or drawer firmly when closed, and does not wiggle when pulled gently.
Can these latches be used on drawers of all sizes?
Yes, Safety First latches are versatile and can be adapted for use on most standard and non-standard drawer sizes with proper alignment.
What should I do if my latches frequently come loose?
Regularly tighten screws and check placement. If they continue to loosen, consider using longer or more robust screws or contact the manufacturer for assistance.